Refactor Your Data & Workflows > Automate Your Microservice > Use AWS CodeStar To Orchestrate The Microservice
Use AWS CodeStar To Orchestrate The Microservice
Use AWS CodeStar To Orchestrate The Microservice
- Go to AWS CodeStar Console.
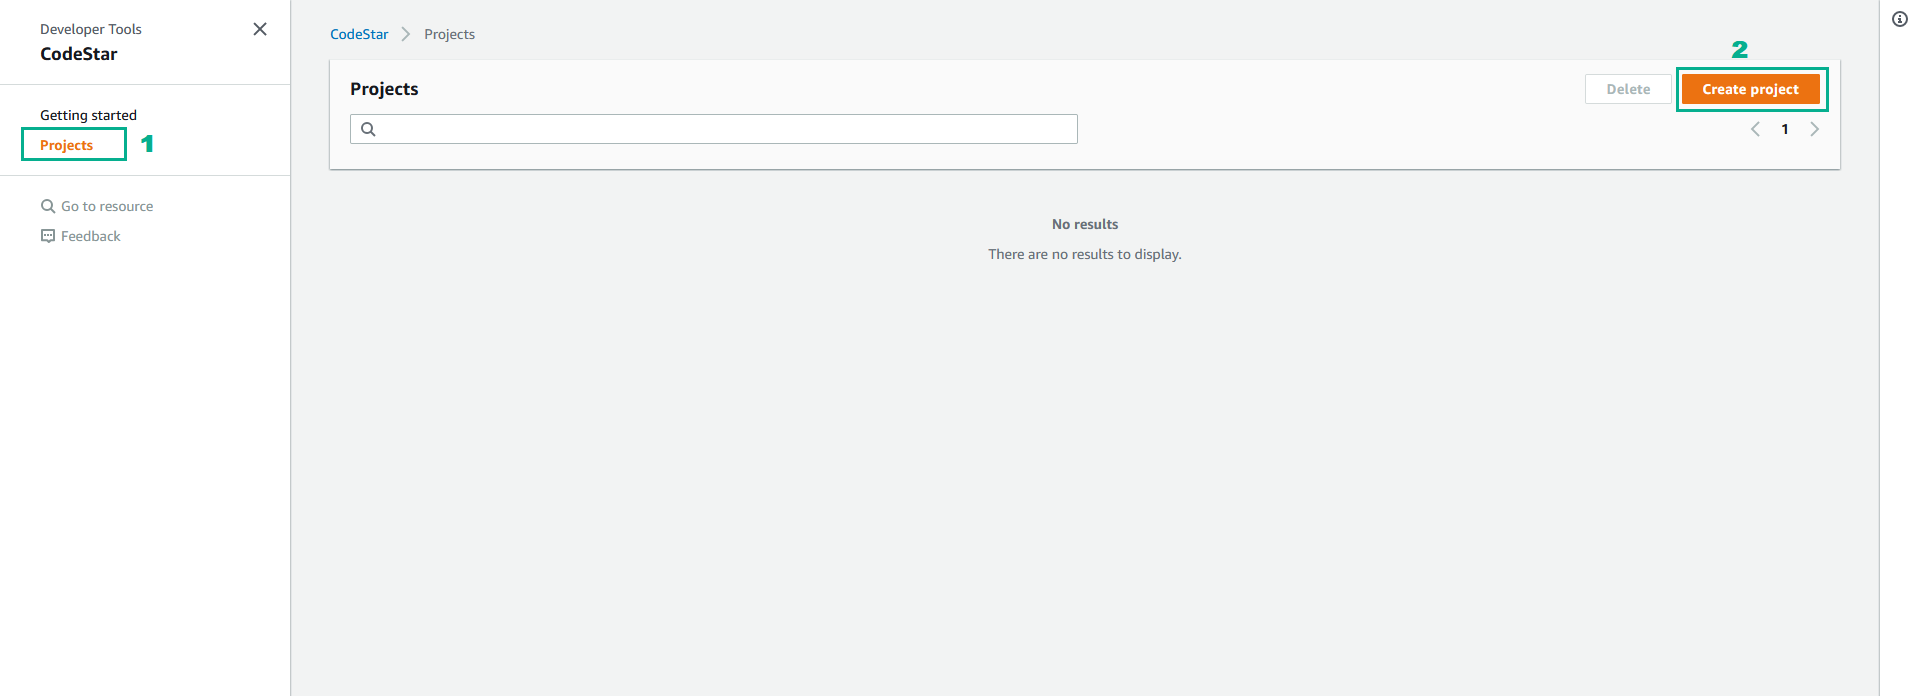
- Click Projects
- Click Create project
Click Create service role if you never go to AWS CodeStar Service before.
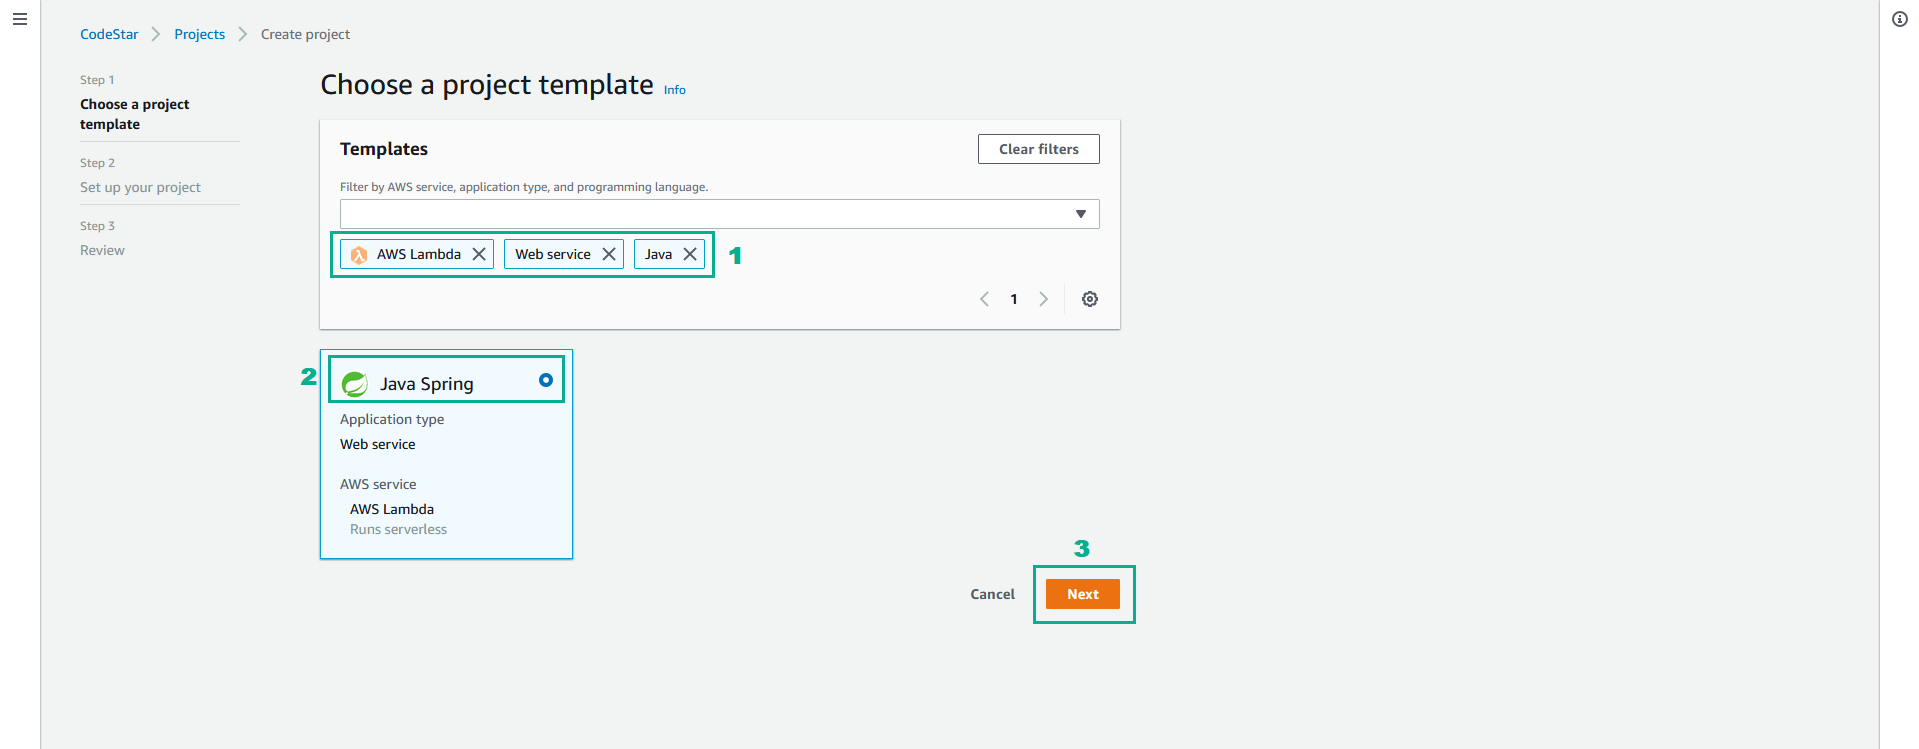
- In the Templates section, select Java, Web Service and AWS Lambda
- Select Java Spring
- Click Next
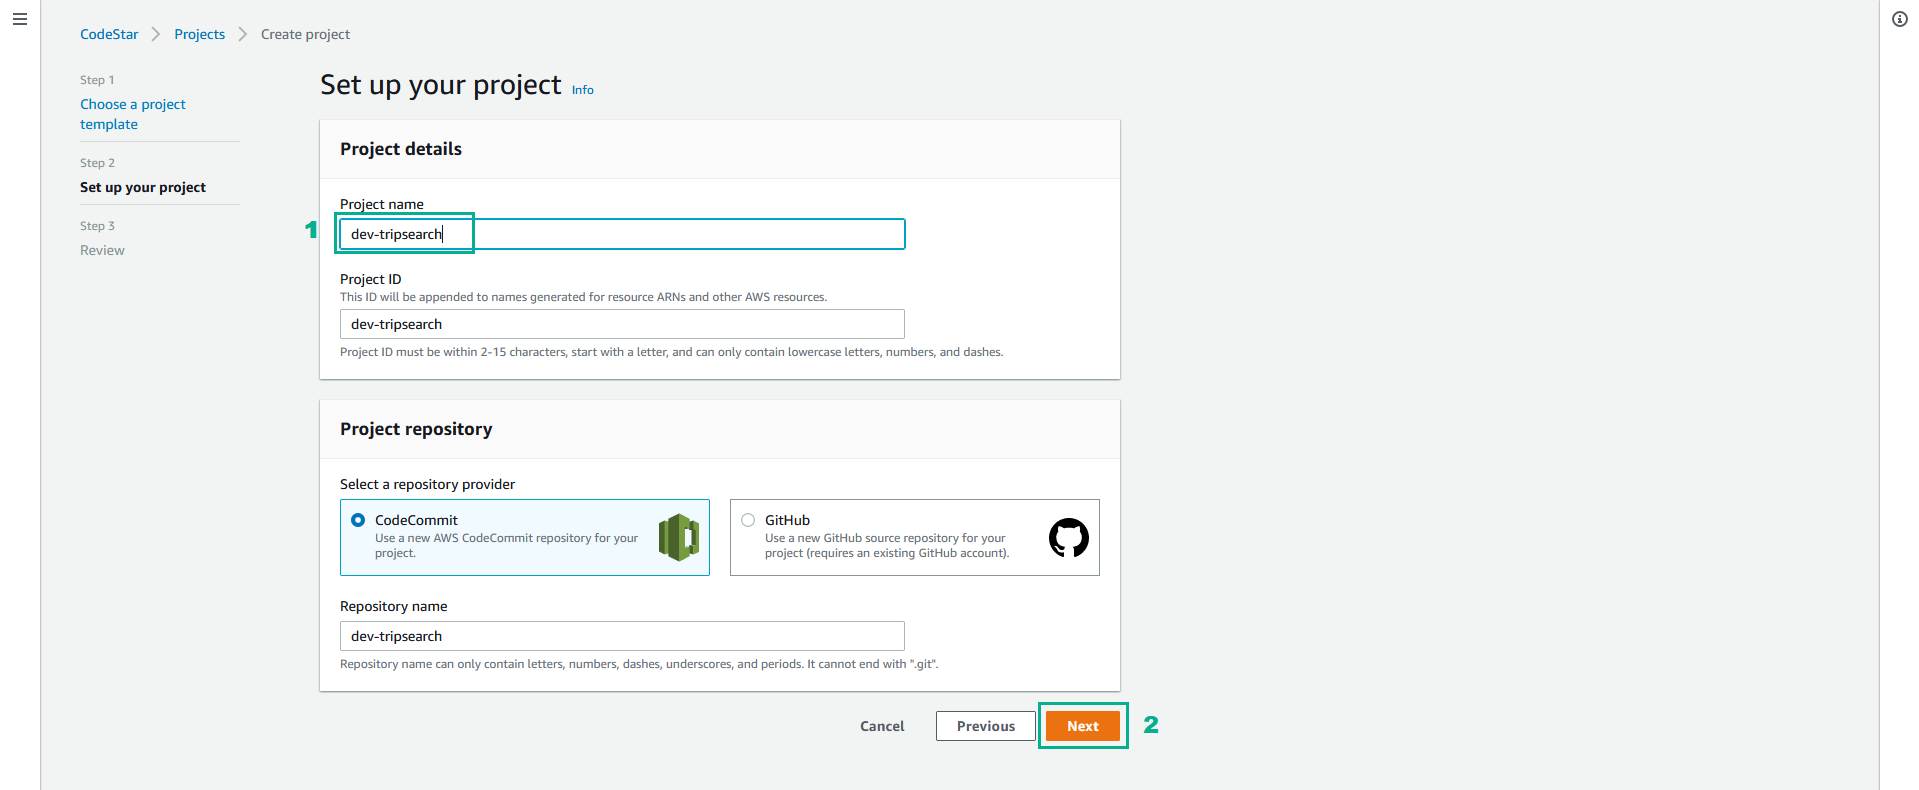
- In the Project name section, type
dev-tripsearch
- Click Next
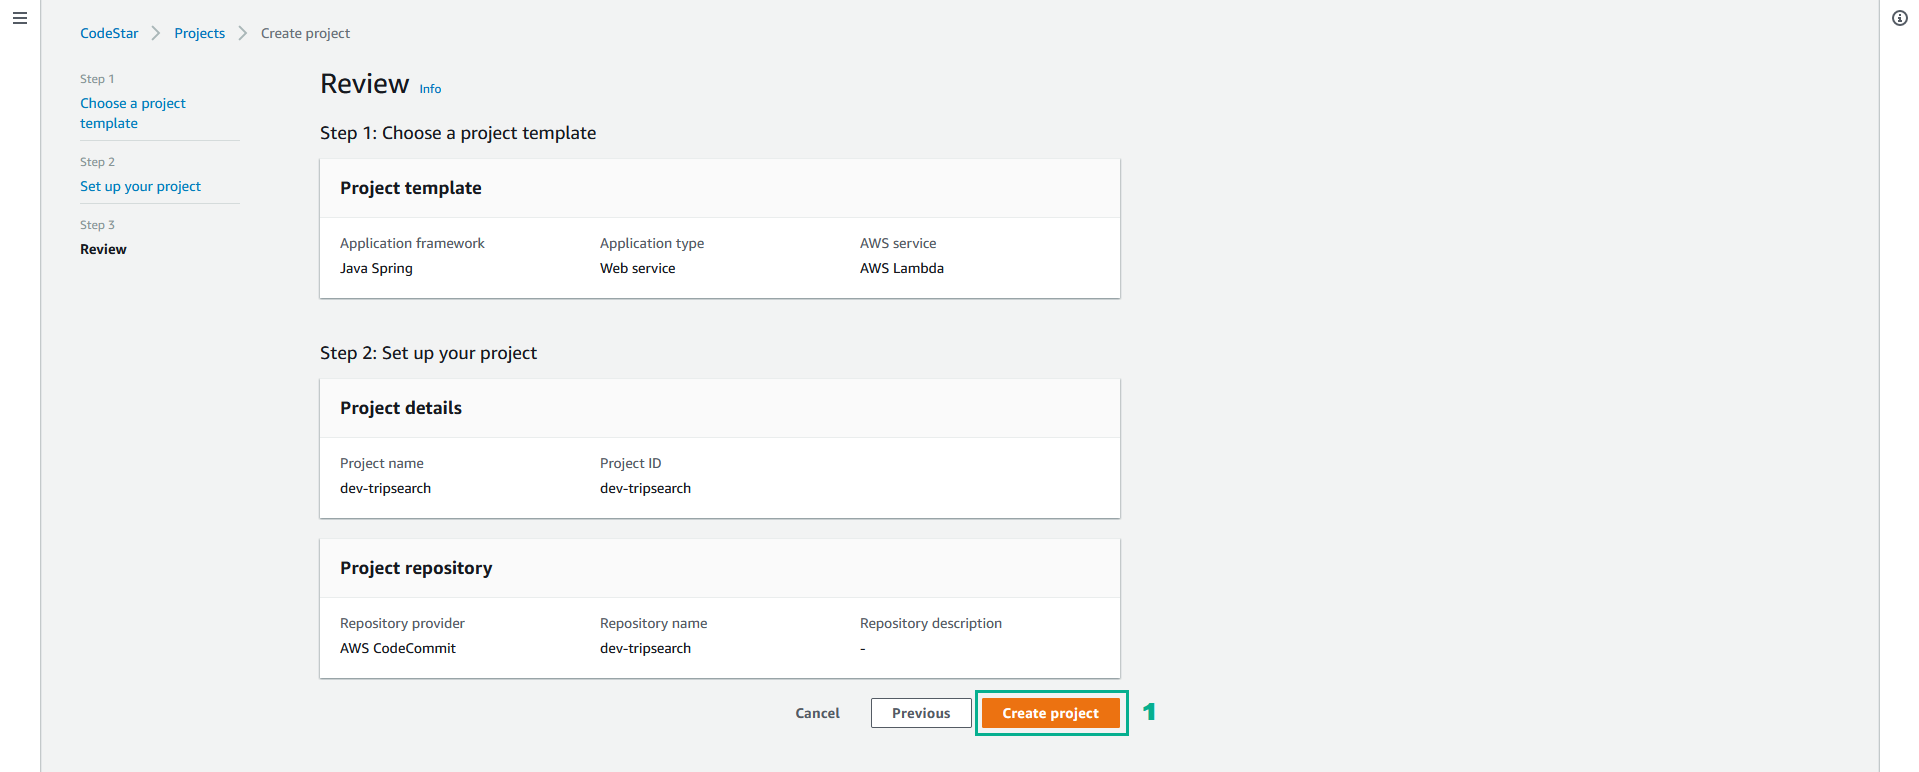
- In the Review page, click Create project
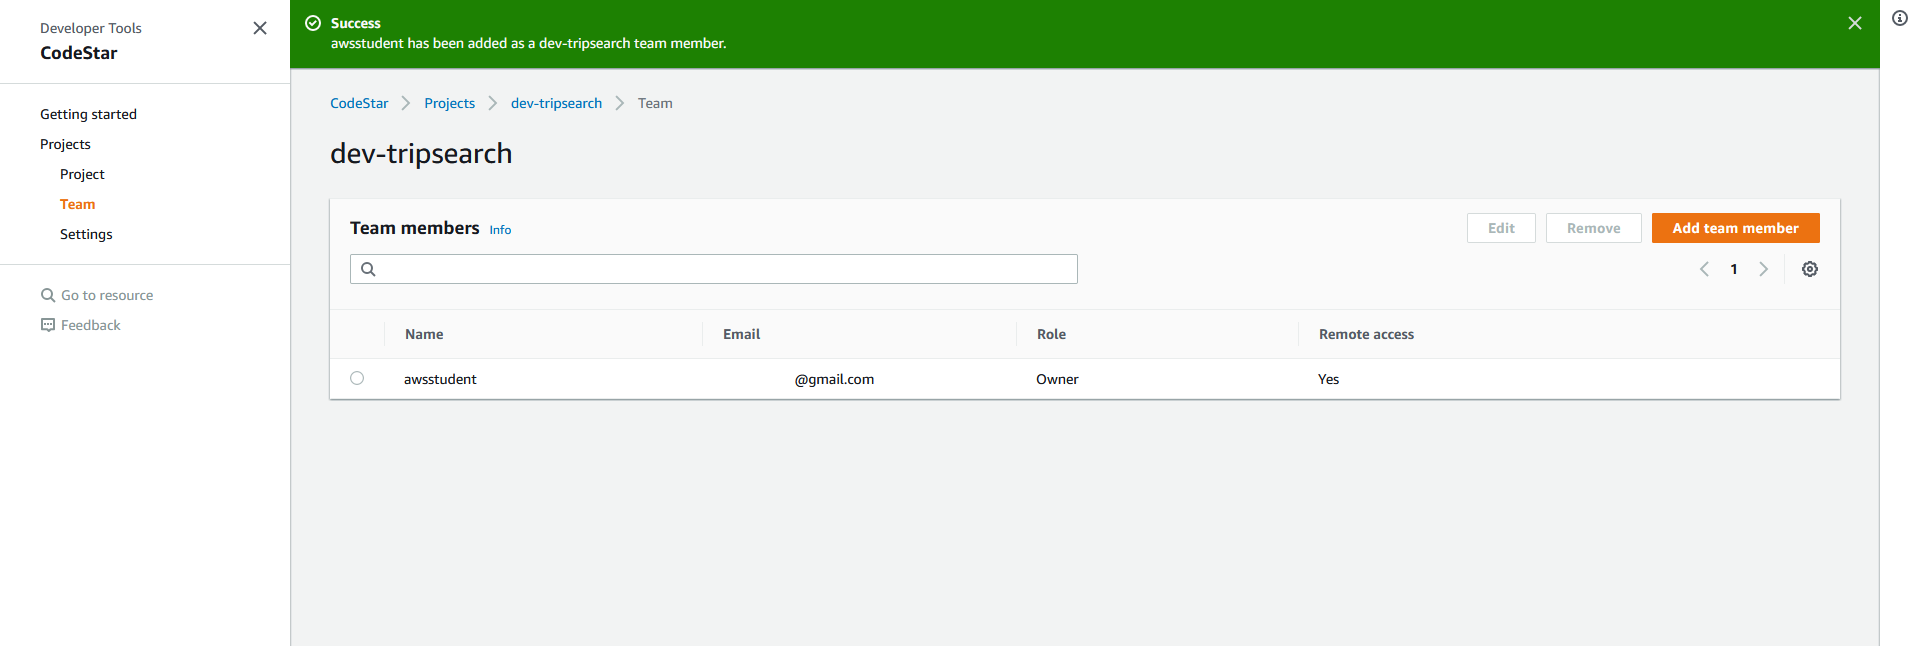
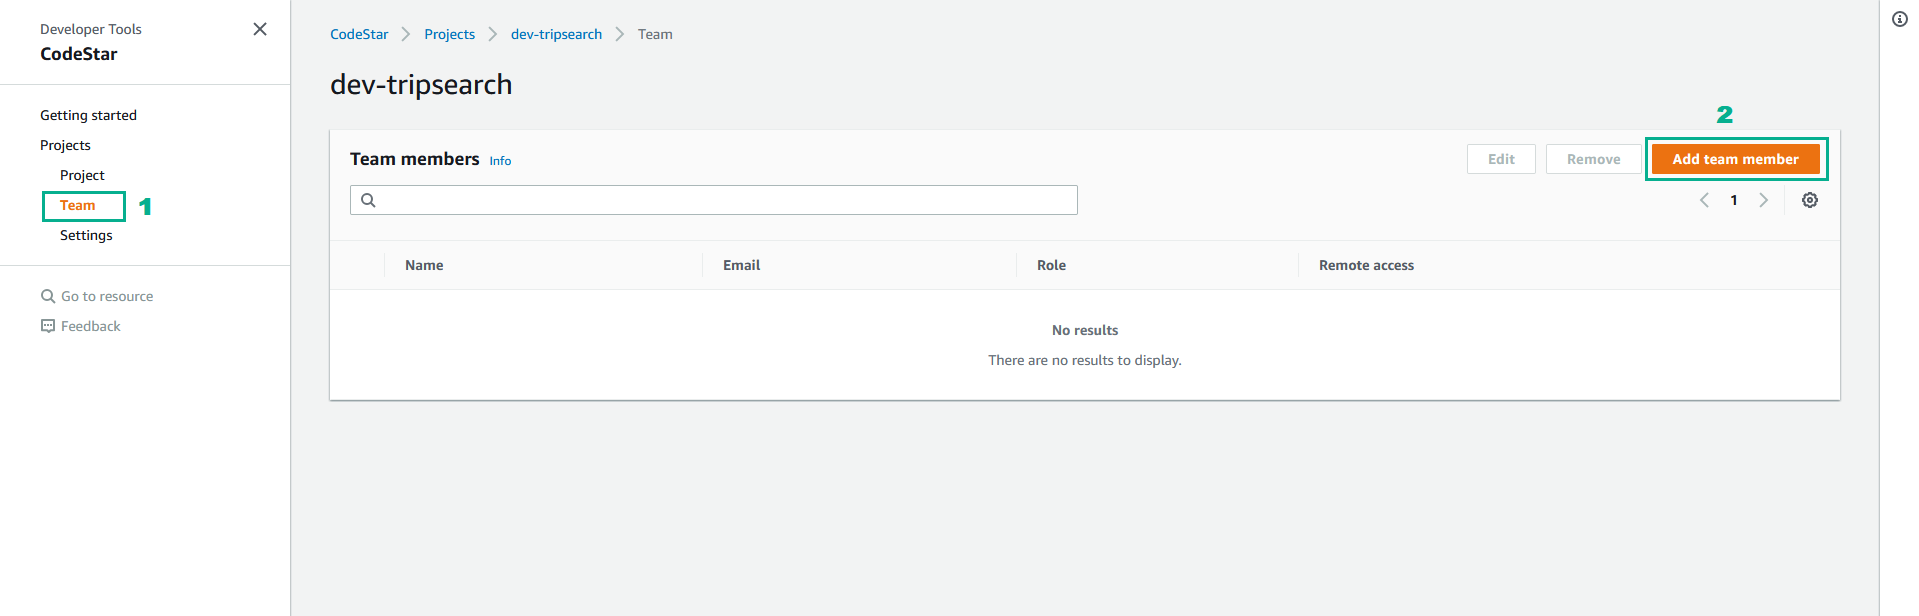
- Add awsstudent account to the the team with Owner role.
- Click Team
- Click Add team member
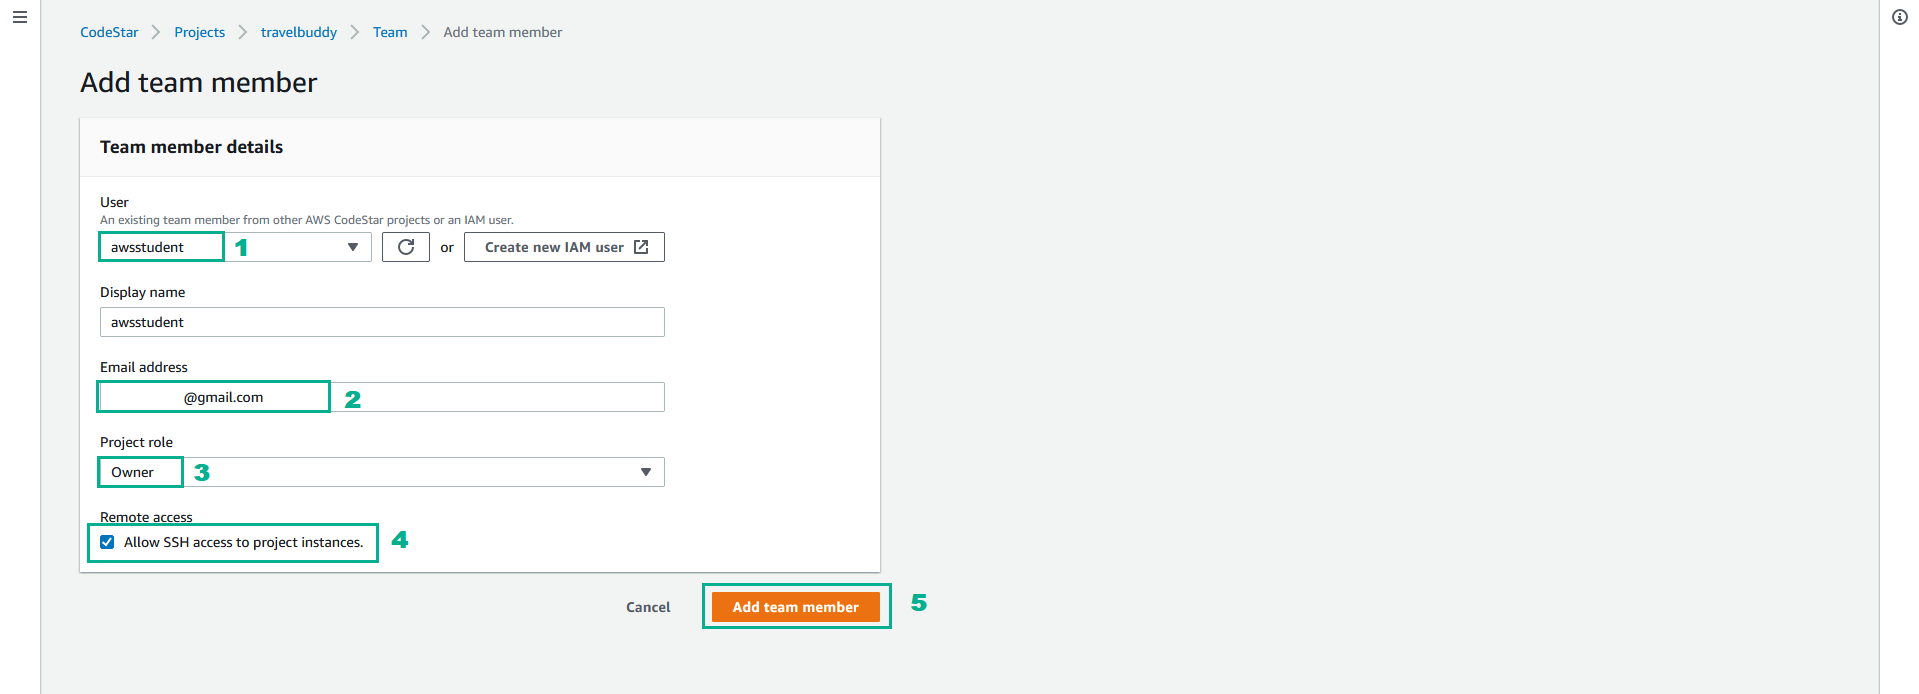
- In the Team member details section
- In the User section, select awsstudent
- In the Email address section, type your email
- In the Project role section, select Owner
- CLick Allow SSH access to project instances.
- Click Add team member
- Check added team member