Import the Hello World Application in Your Eclipse IDE
Import the Hello World Application in Your Eclipse IDE
- Open Eclipse IDE. Click Launch.
- Click Restore to show the tool bar.
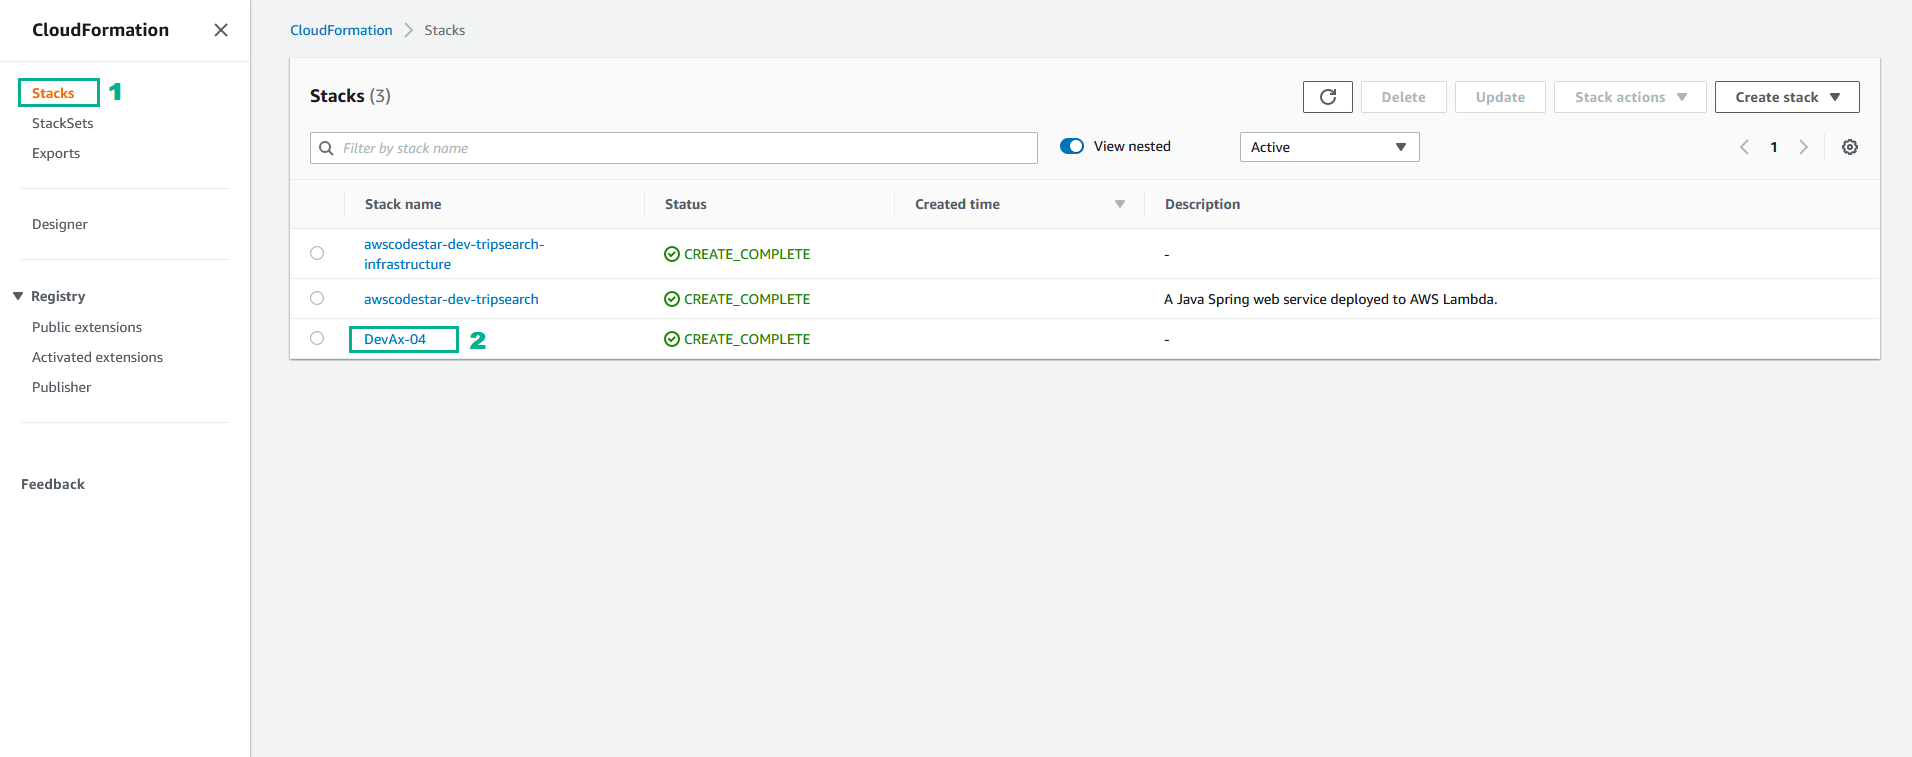
- Go to AWS CloudFormation Console.
- Click Stacks
- Click DevAx-04
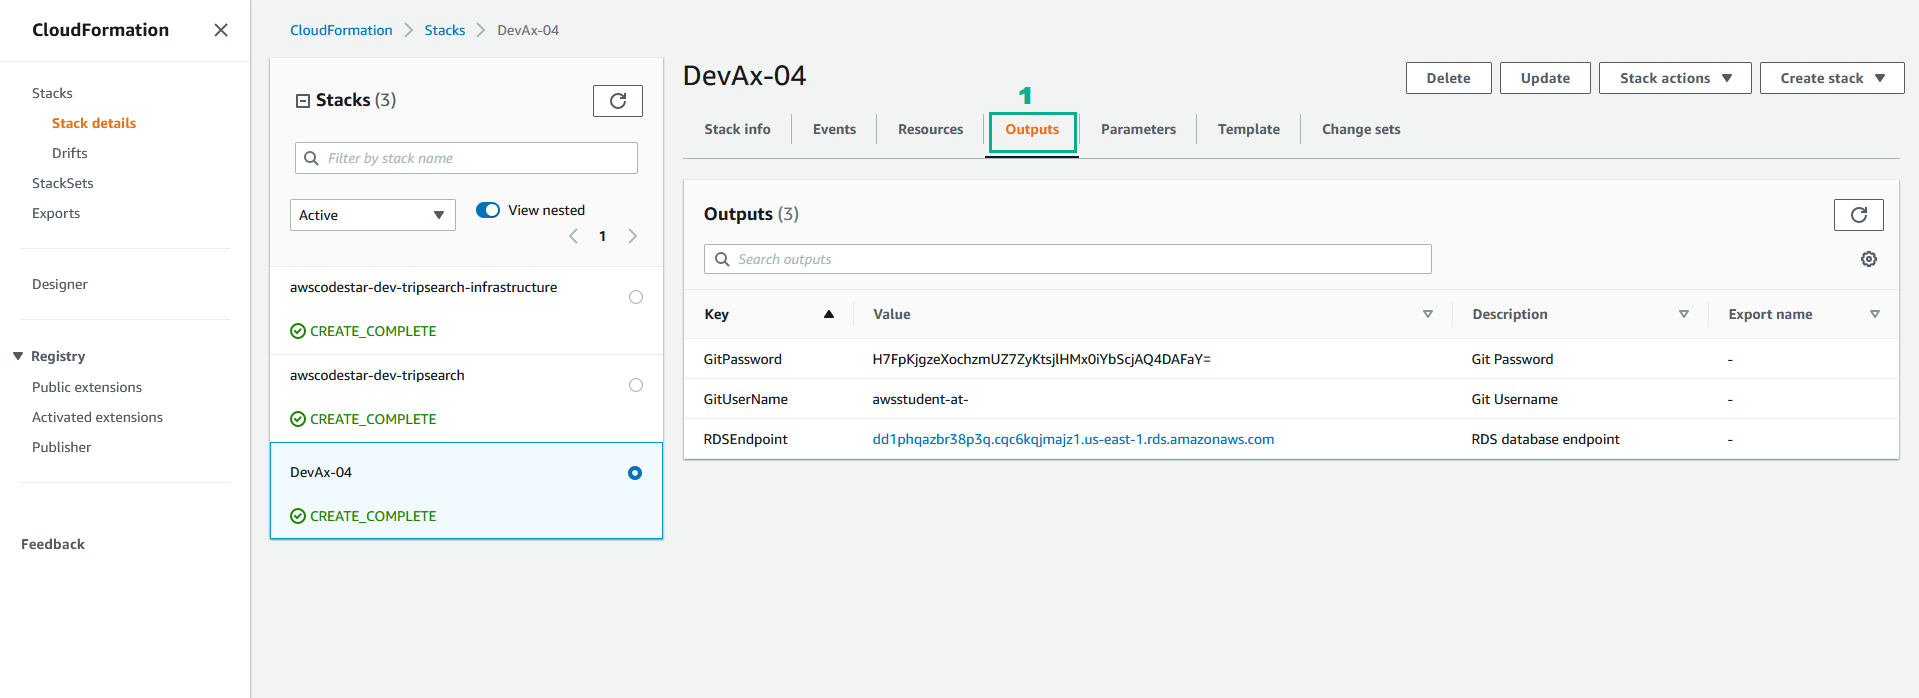
- Click tab Output
- Save GitPassword and GitUserName to use in the next step
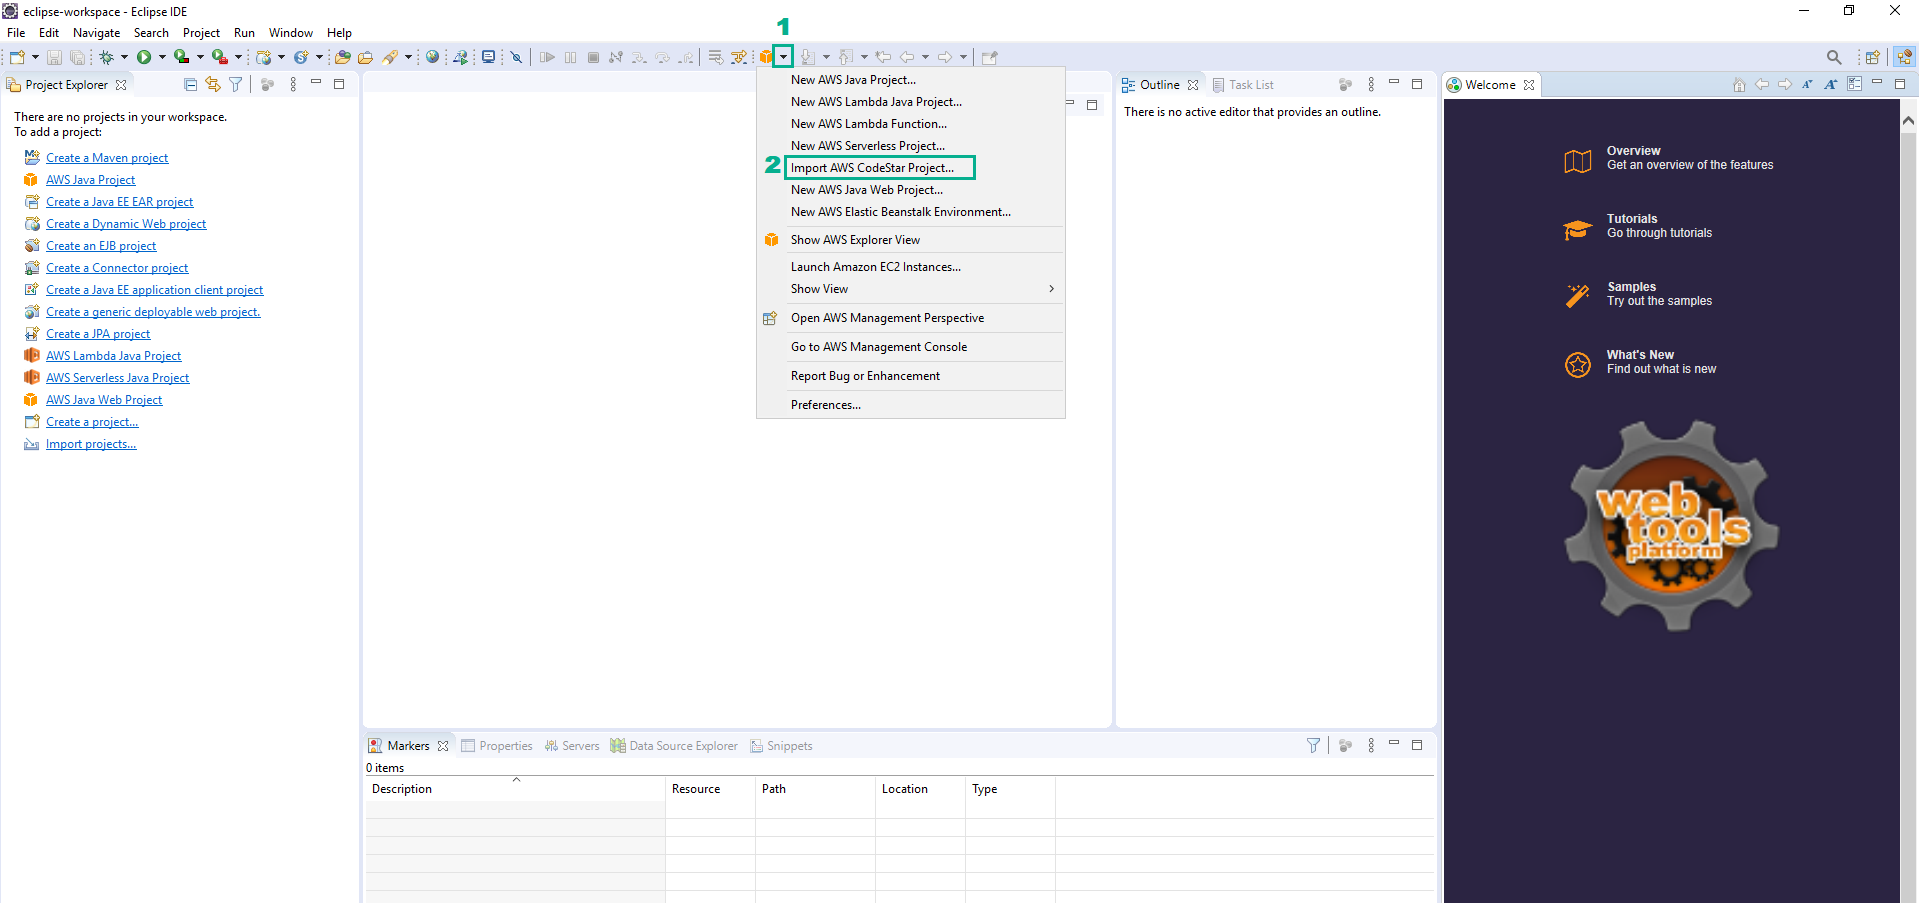
- Find the AWS Icon and click it to reveal the menu
- Click Import AWS CodeStar Project…
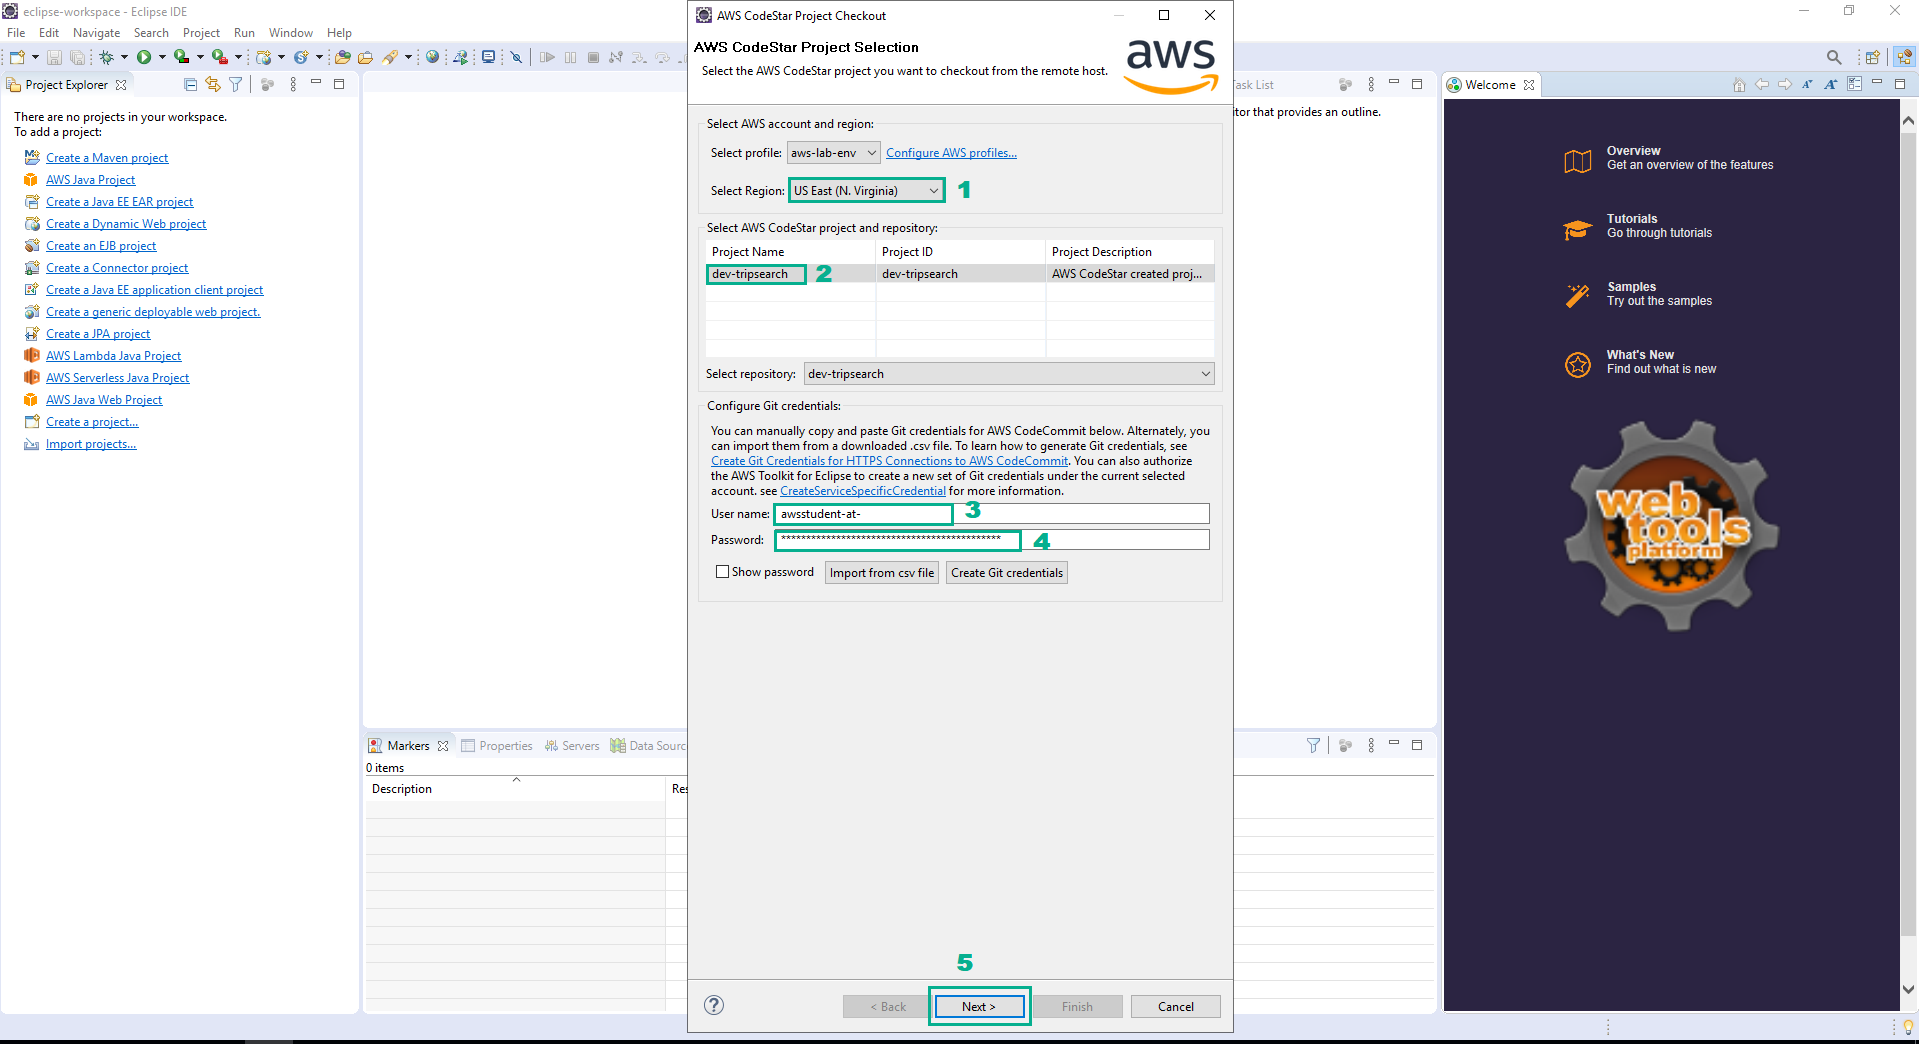
- Select the region we use in this lab
- Select
dev-tripsearch - Type the saved information in the step 3 into User name section and Password section
- Click Next
- Click OK, ignore the error org.eclipse.egit.ui.internal.repository.tree.RepositoryTreeNodeType.getIcon()Lorg/eclipse/swt/graphics/Image;
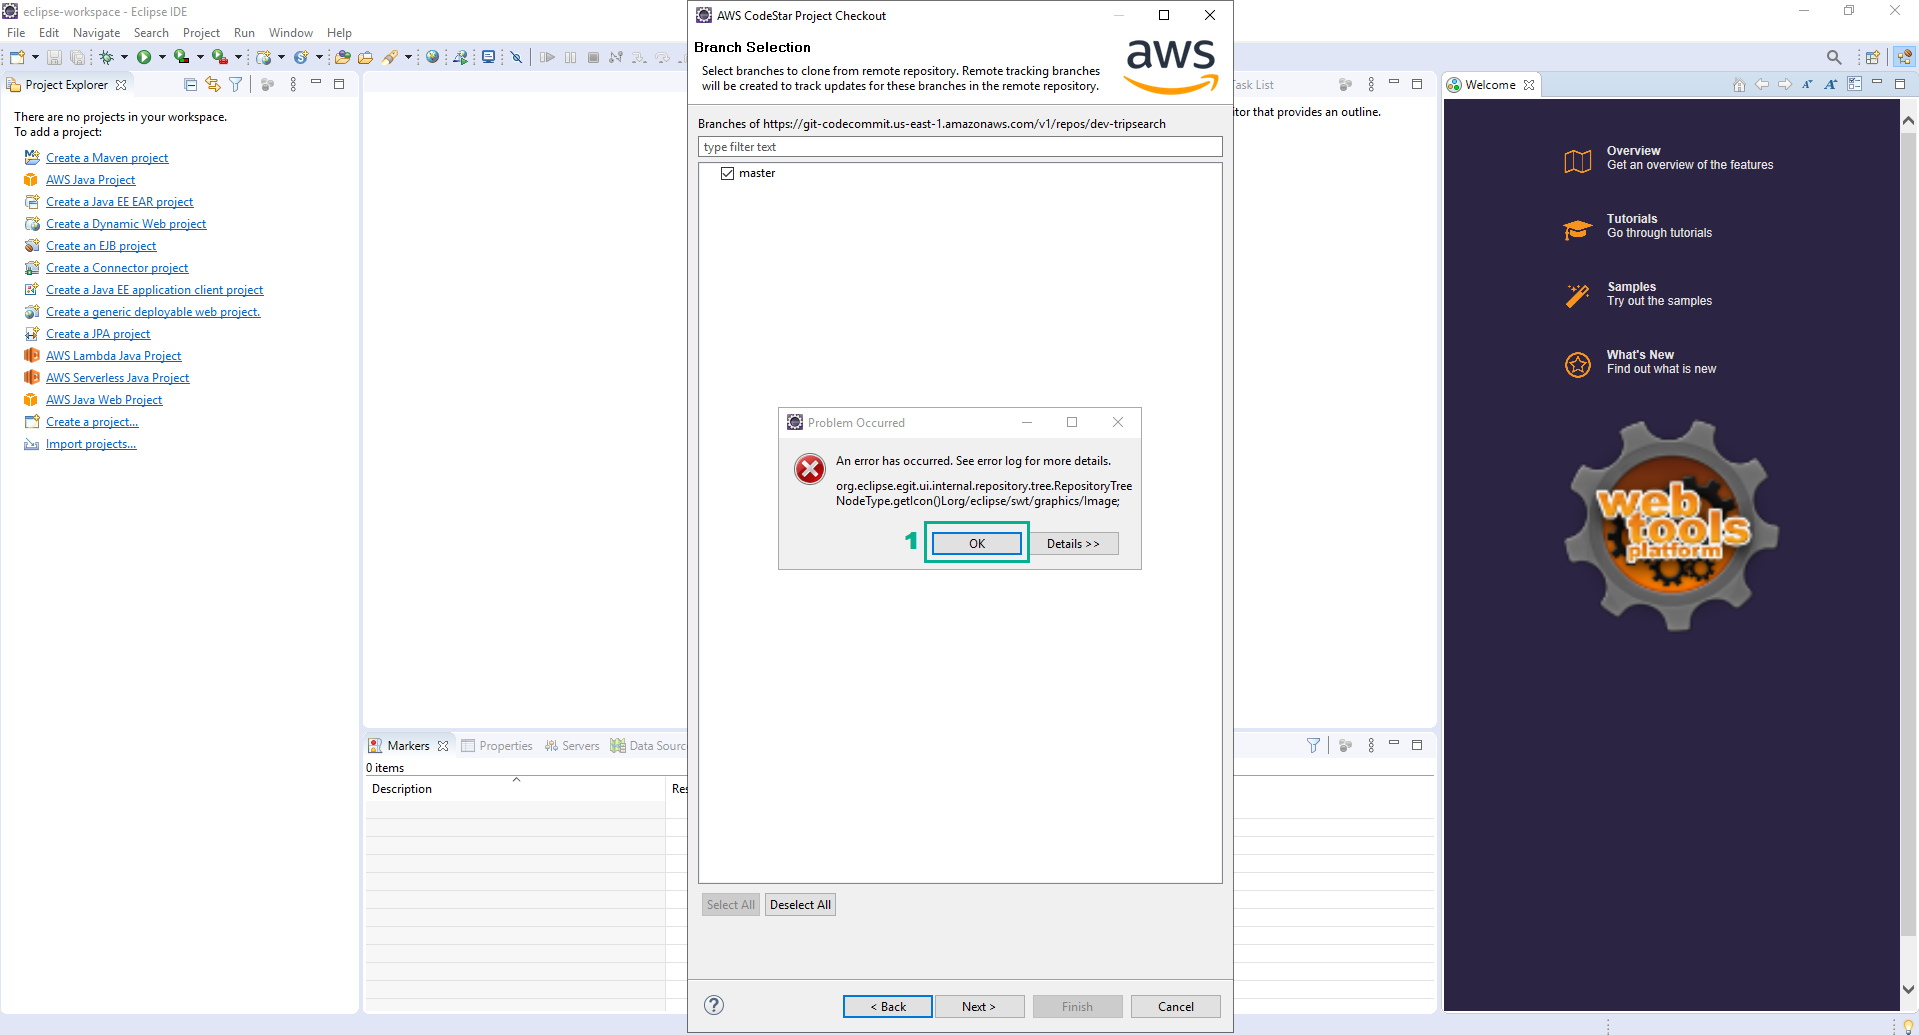
- Select master branch and click Next.

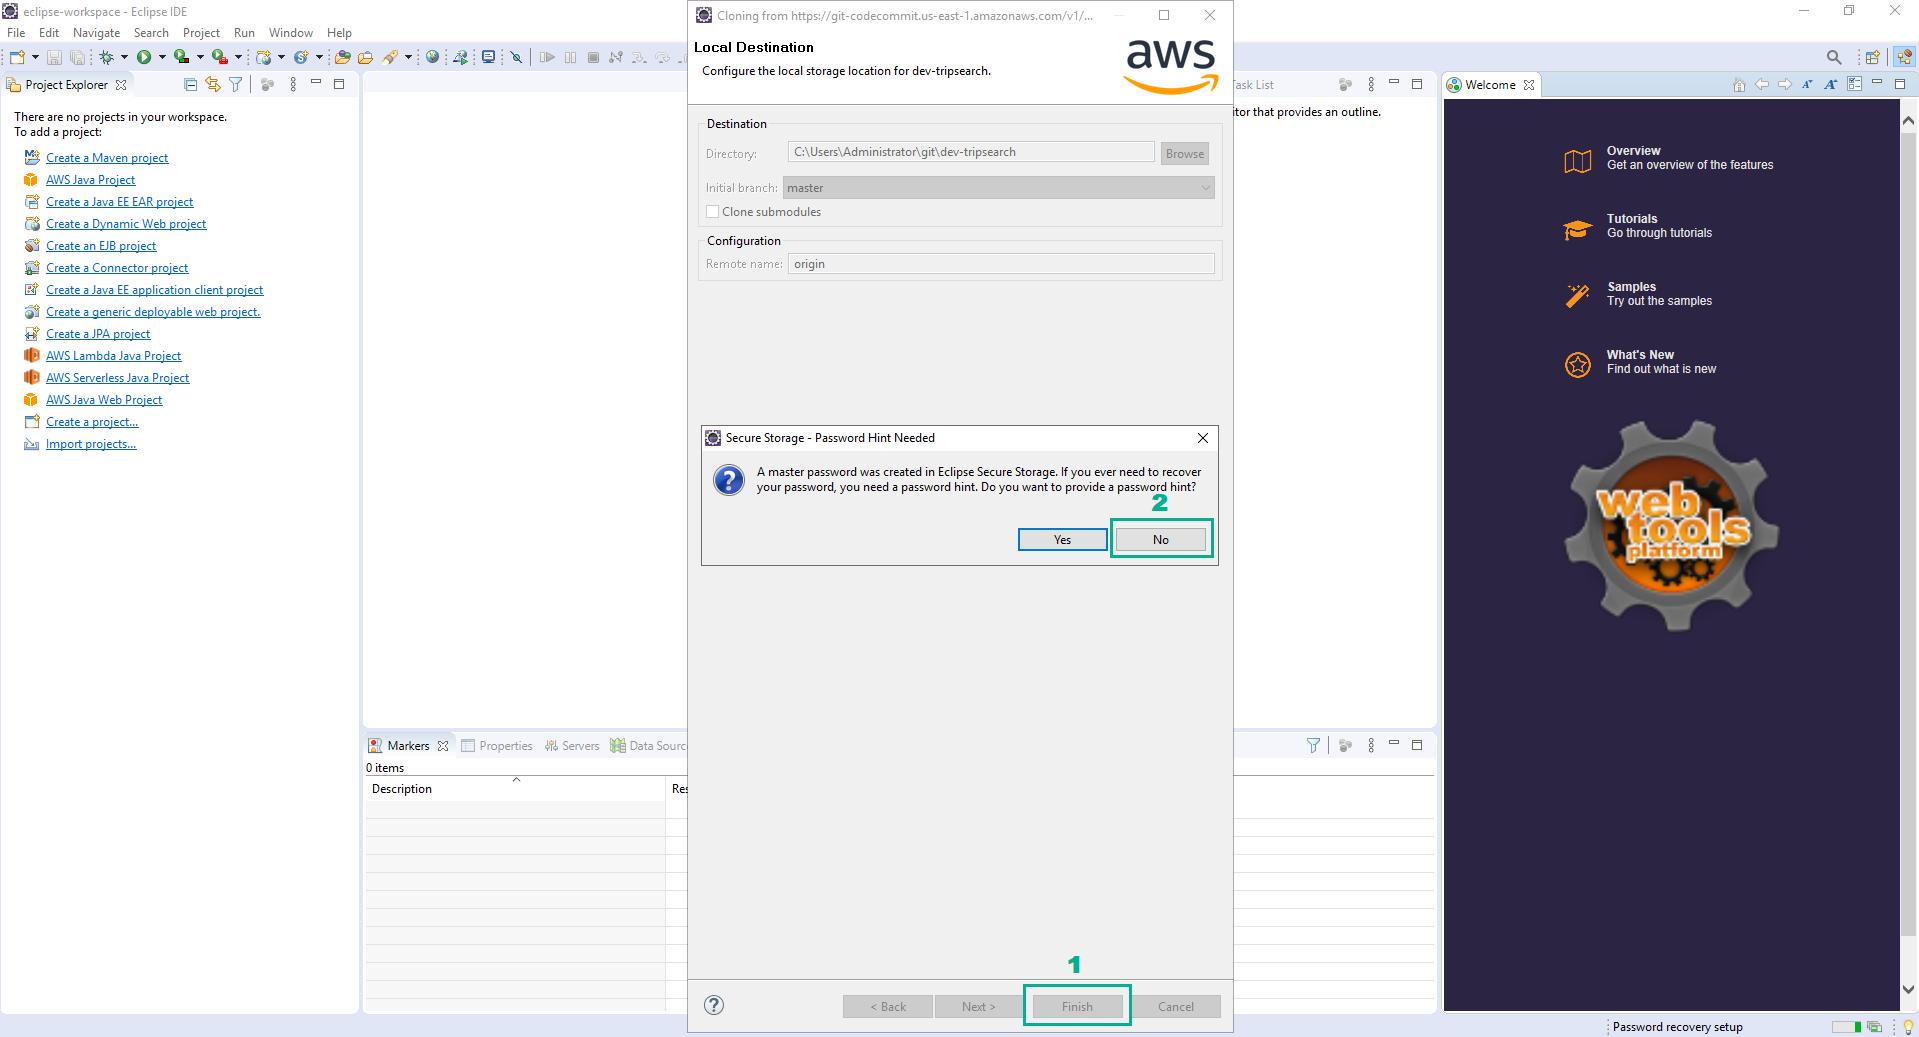
- Click Finish.
- Click No to skip setup password hint.
- Project sample was created by CodeStar was imported, we will overwrite the project with our own code.