Deploy Through A Pipeline
Deploy Through A Pipeline
- Connect to the Windows virtual machine. Open Command Prompt
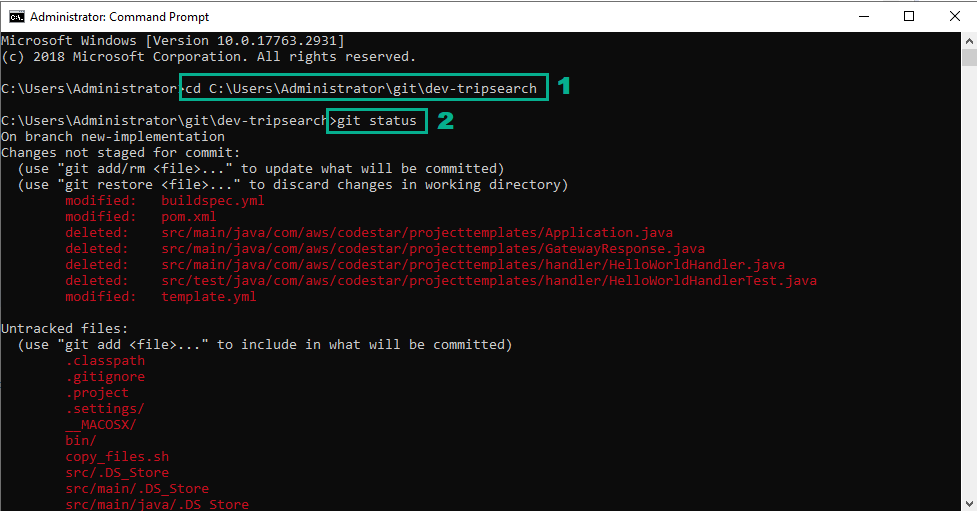
- Execute the below command to navigate to the directory of dev-tripsearch project and to review the changed code files
cd C:\Users\Administrator\git\dev-tripsearch
git status
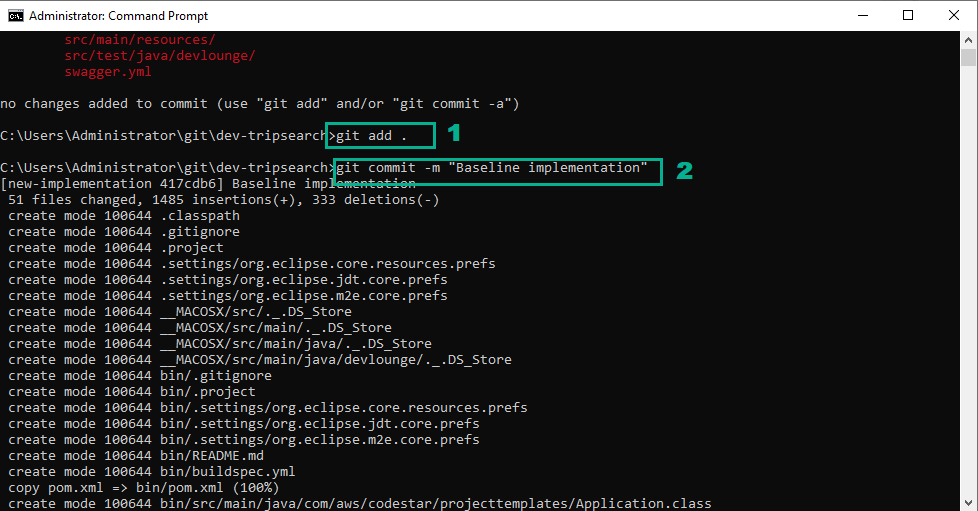
 2. Execute the below command to add in the changed files
git add .
git commit -m "Baseline implementation"
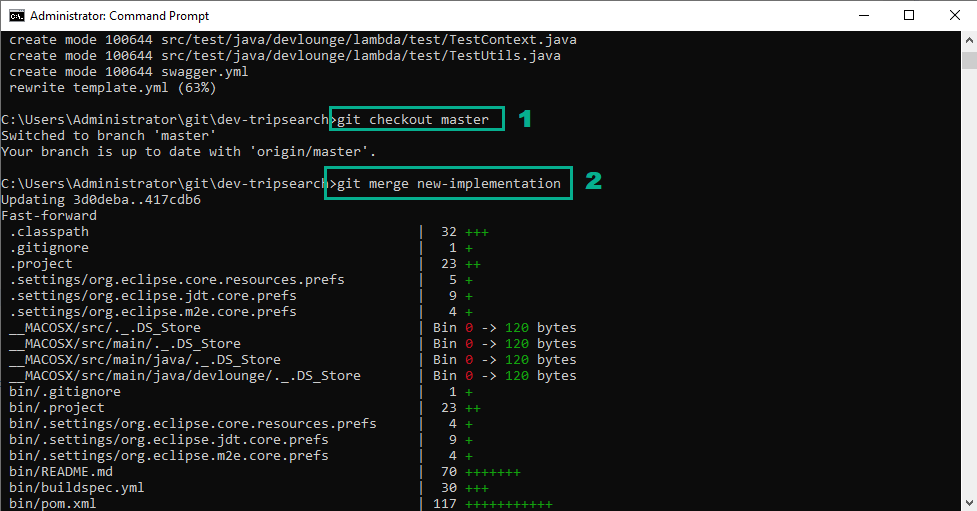
 3. Execute the below command to switch back to the master branch and to merge the changes for your new implementation into the master branch
git checkout master
git merge new-implementation
 4. In the Eclipse IDE, right-click on the root element of the dev-tripsearch project
- Click Team
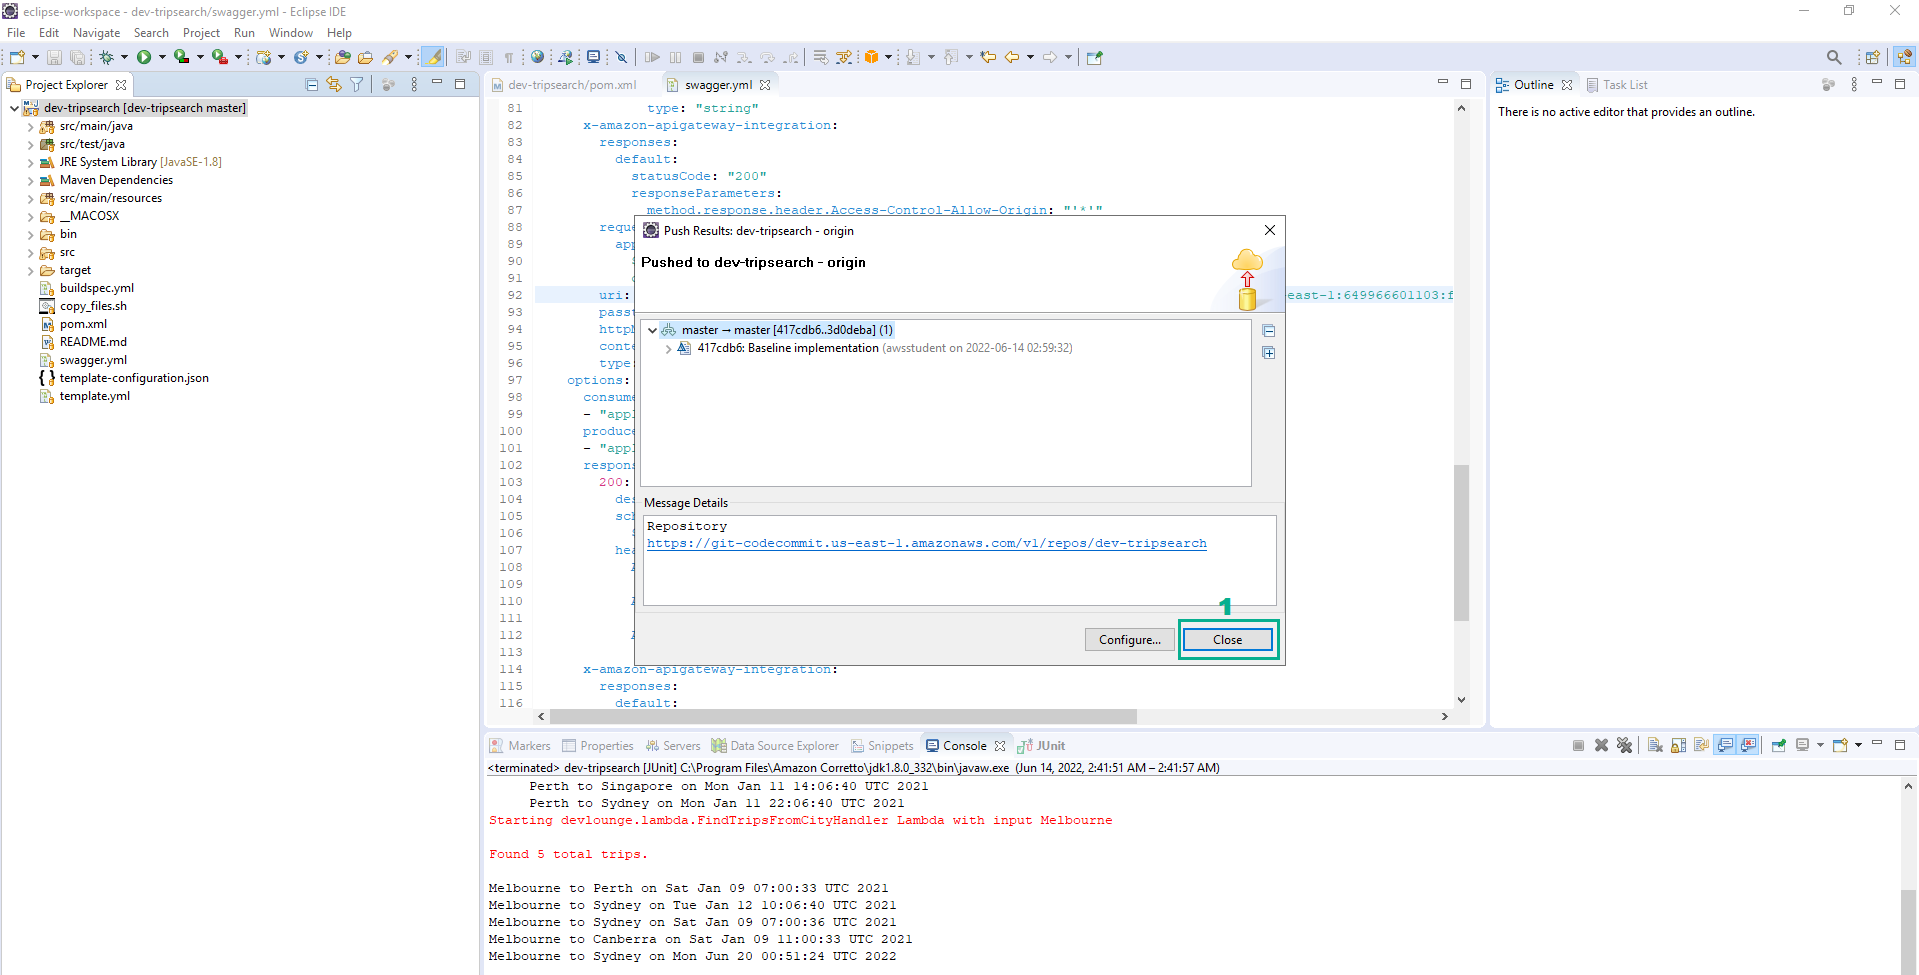
- Click Push to origin.
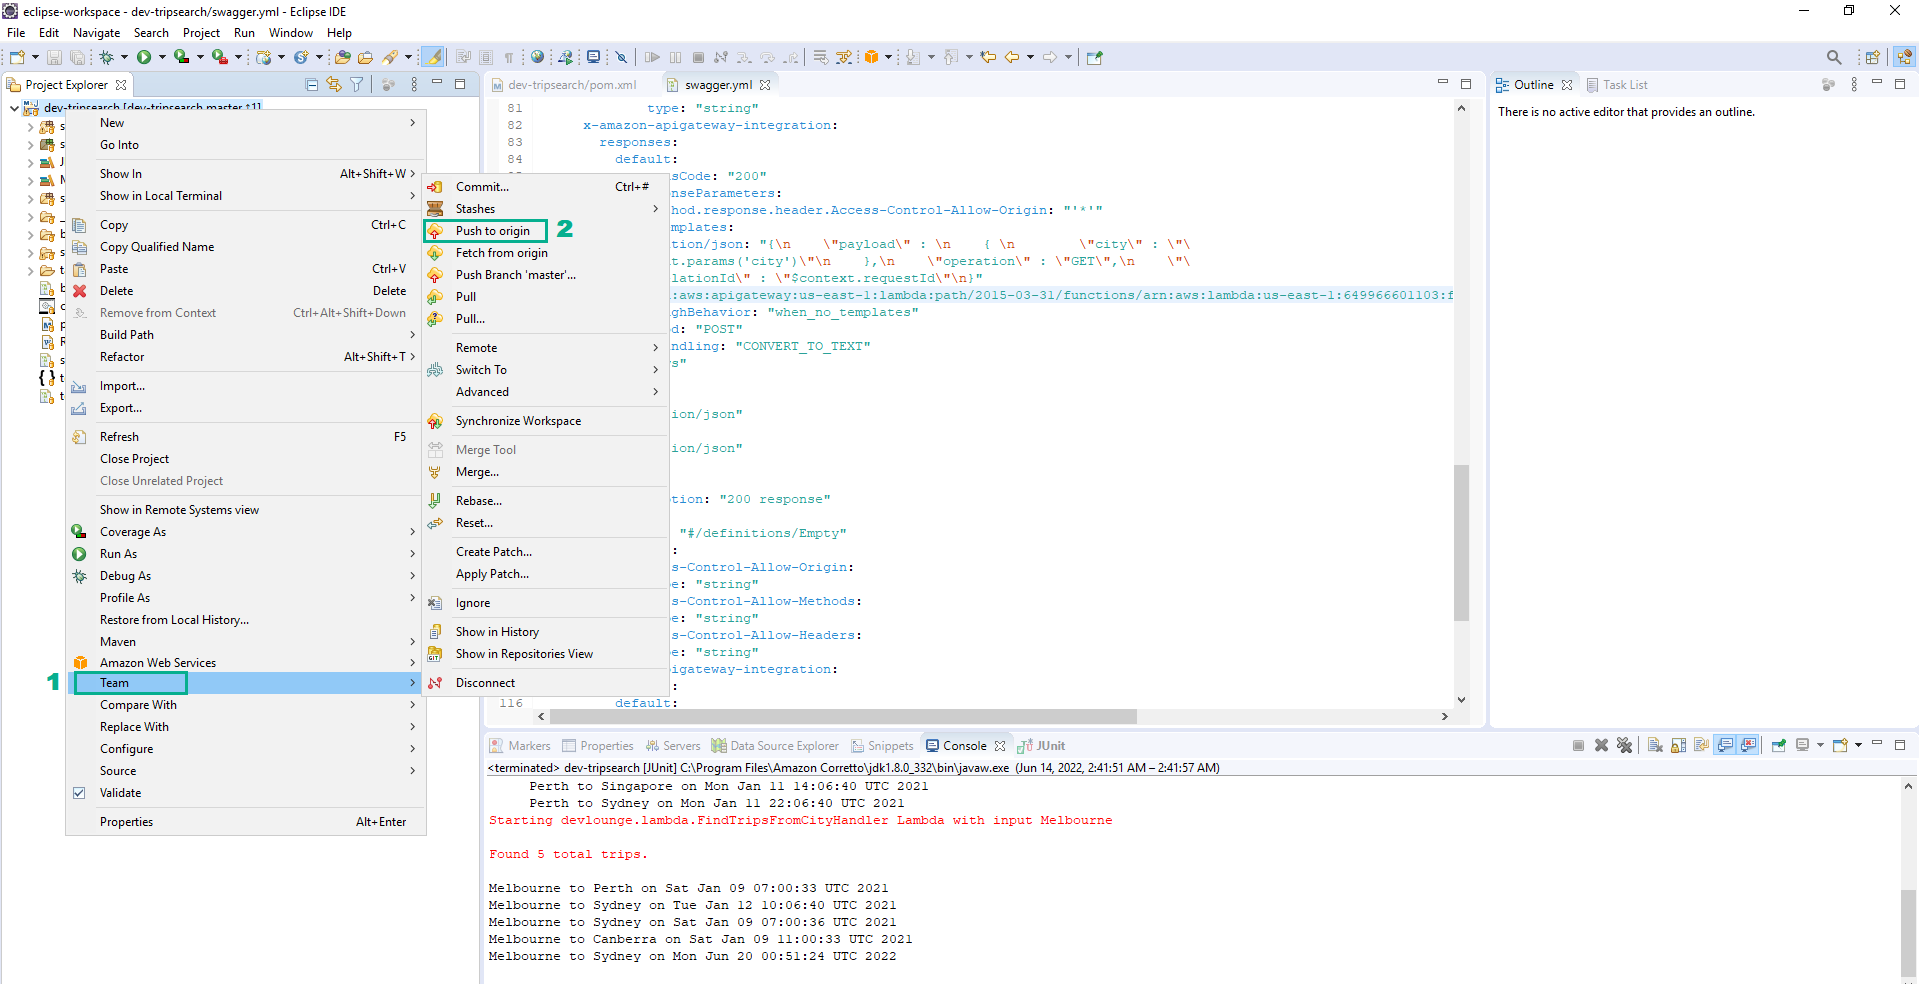
- Click Close
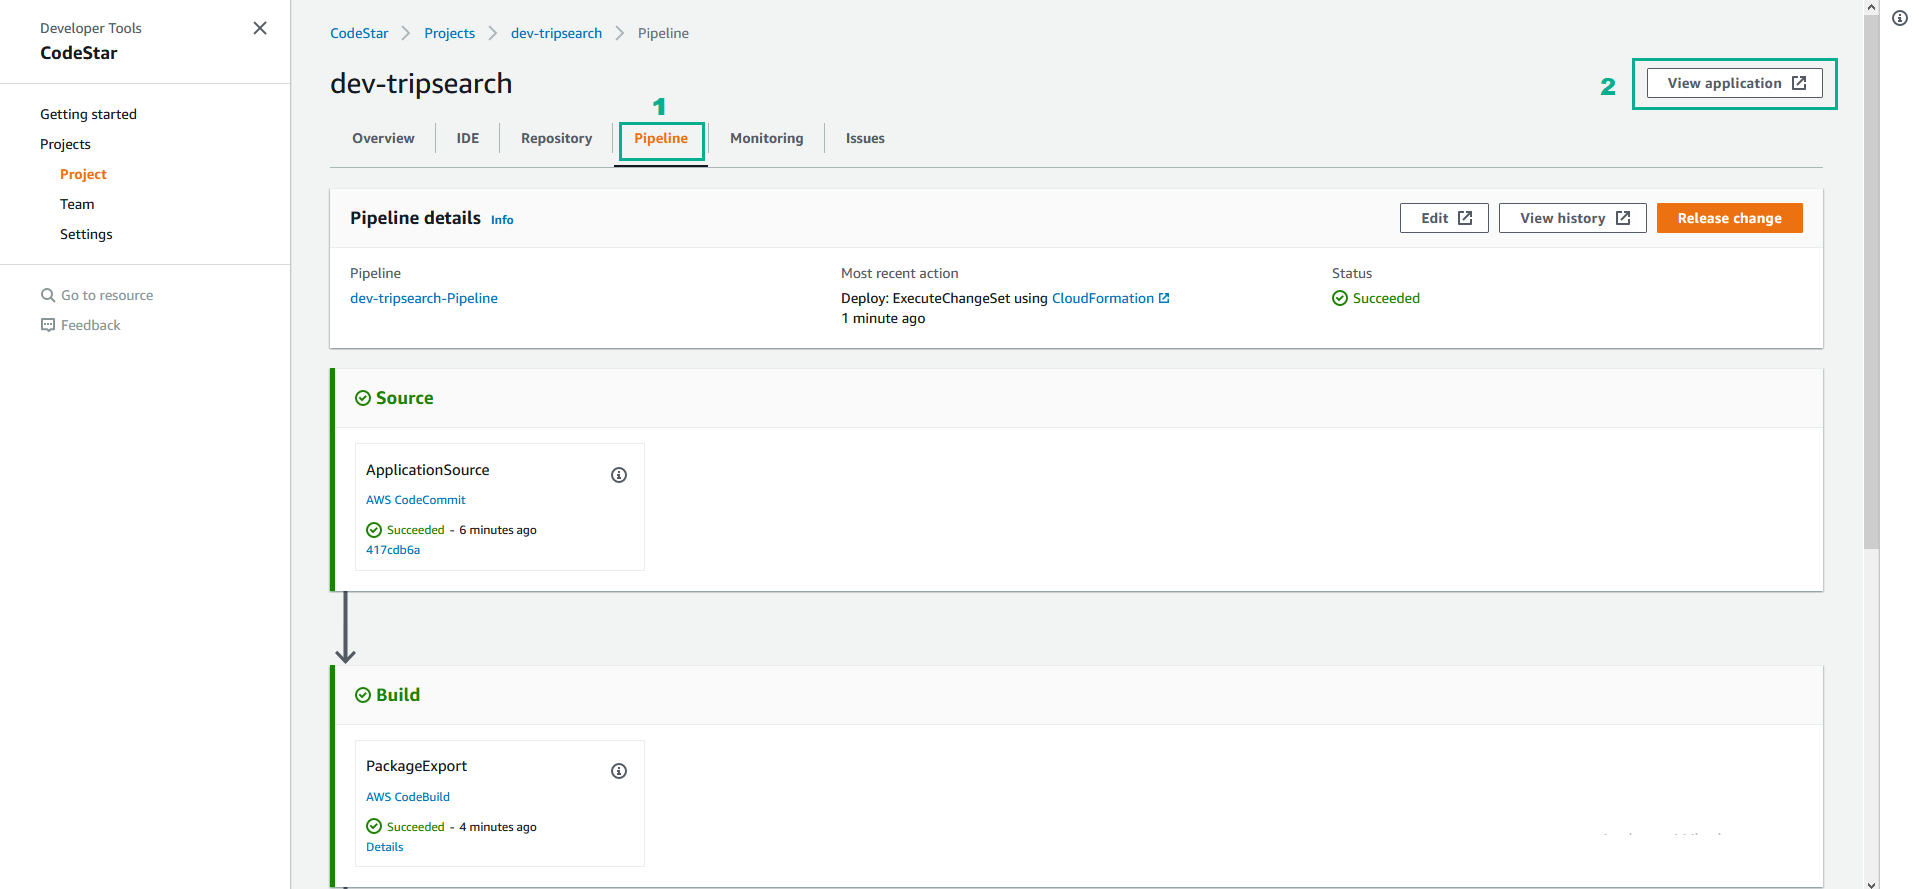
- Go to AWS CodeStar Console.
- Click Projects
- Click dev-tripsearch

- Click tab Pipeline to monitor the release process
- Click View application
- When the page opens, you should see an error {“message”:“Missing Authentication Token”}. This is to be expected, since you are attempting to hit the root of the API, rather than the specific microservice we have defined.
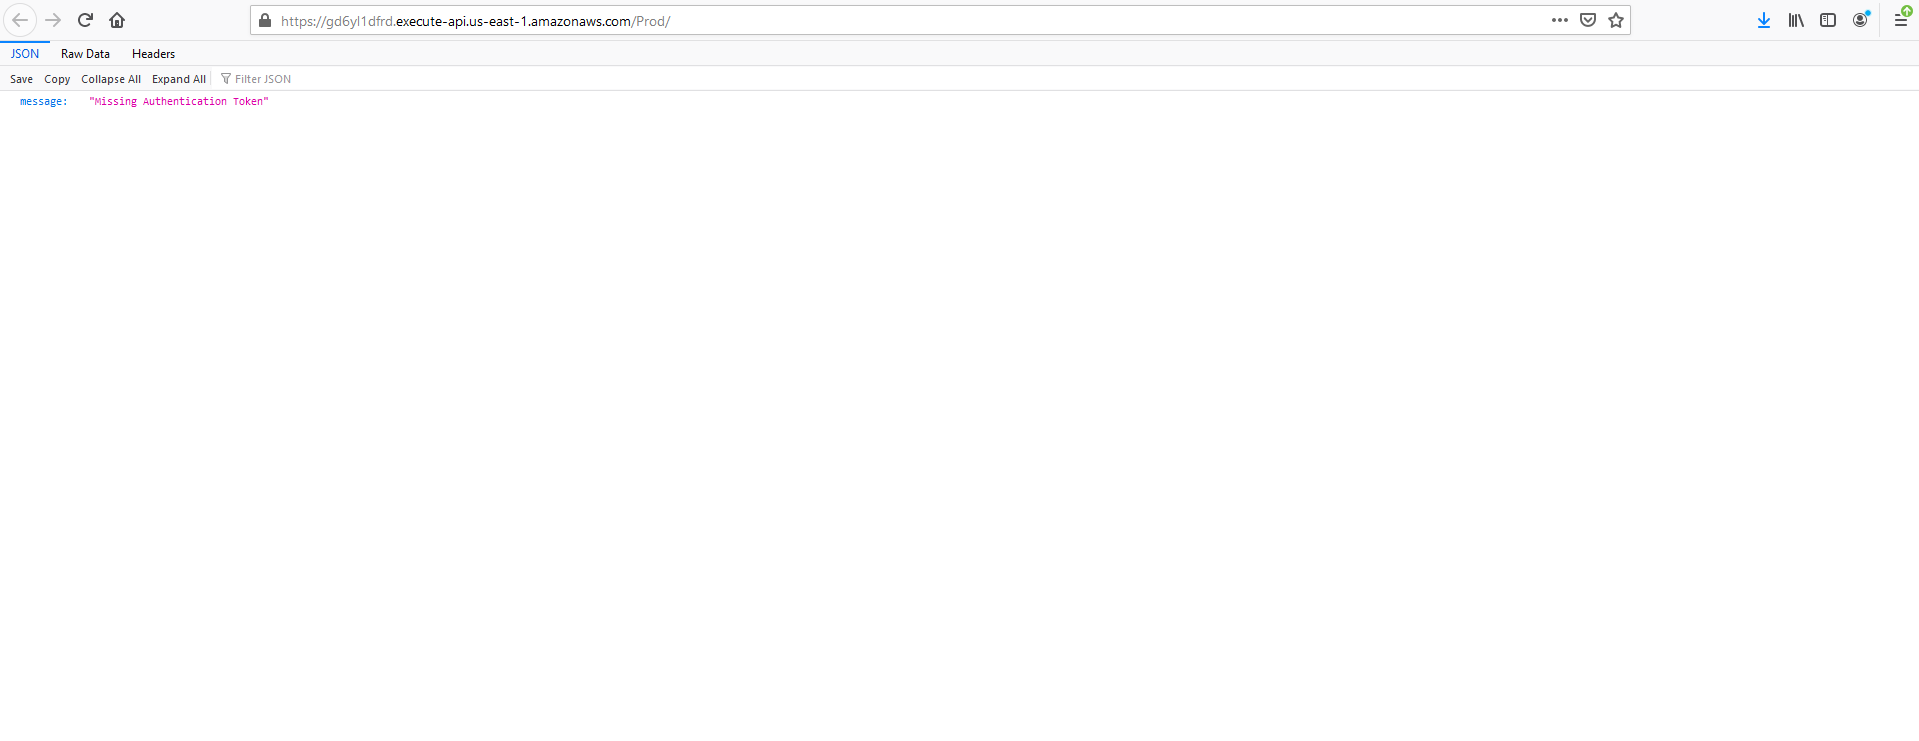
- Edit the URL in the browser to add /trips to the end of the URL.
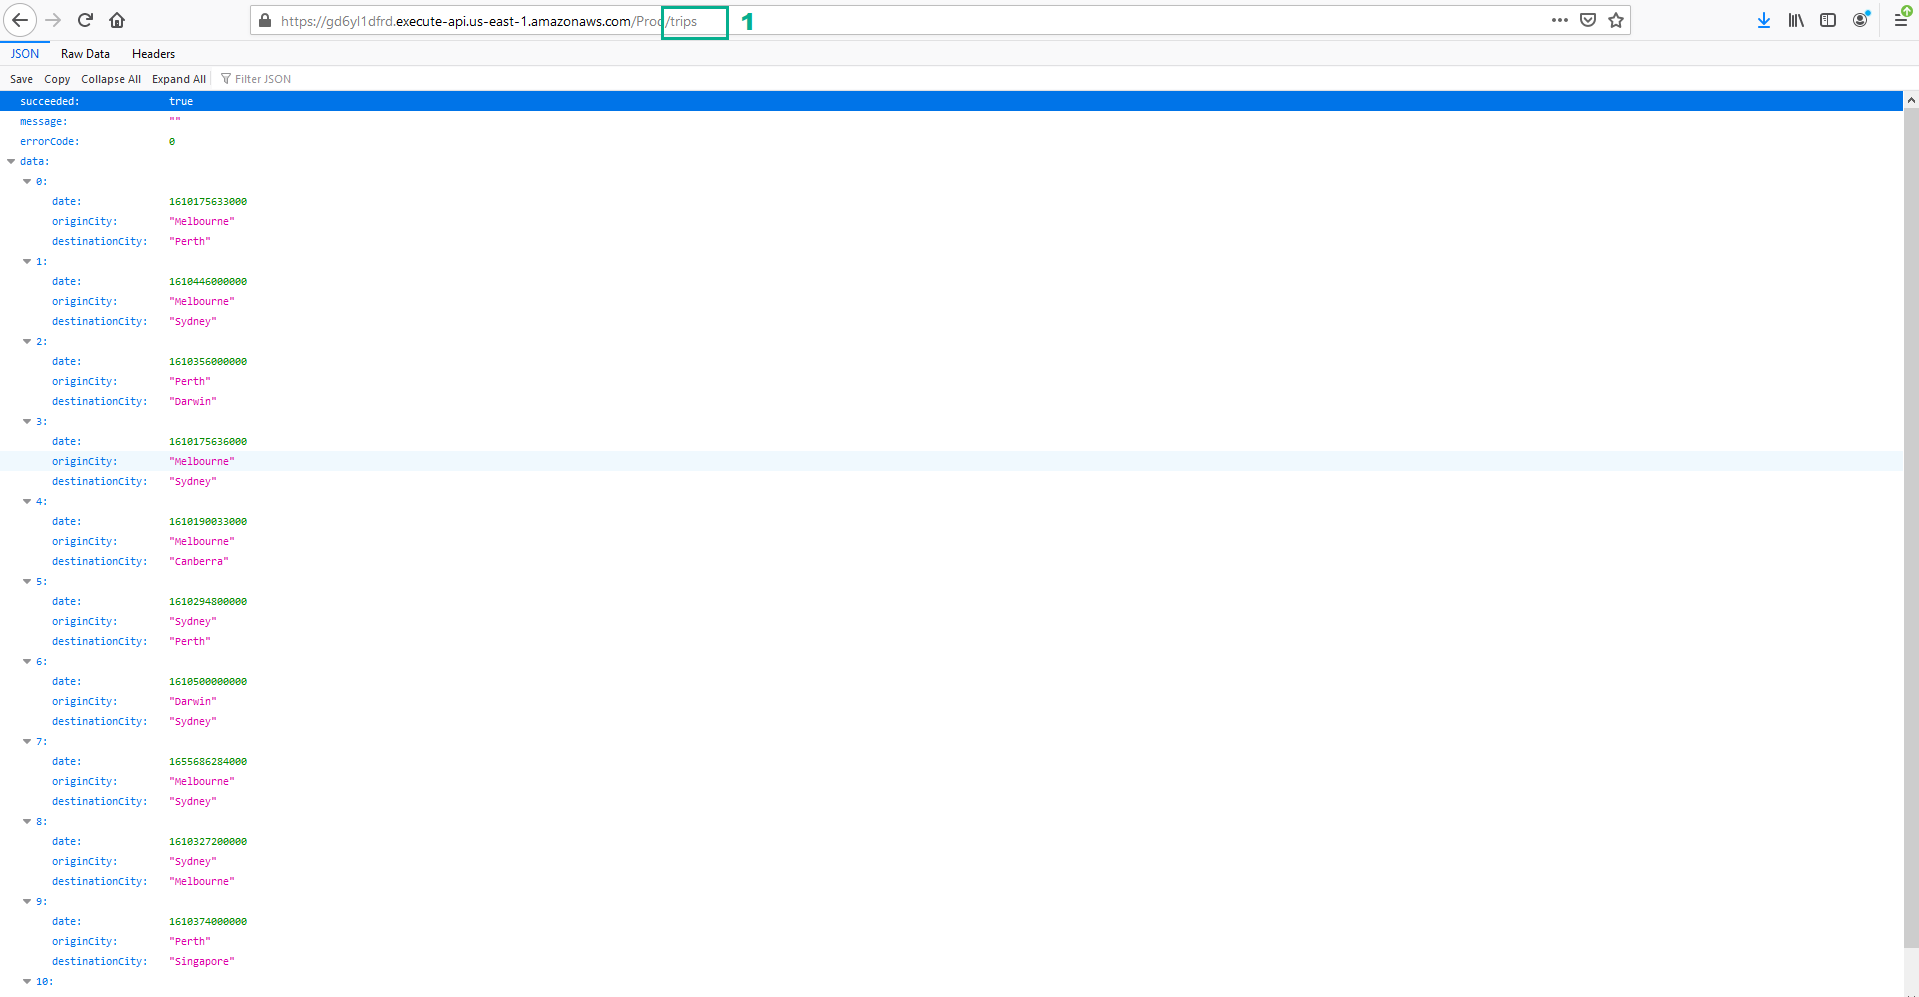
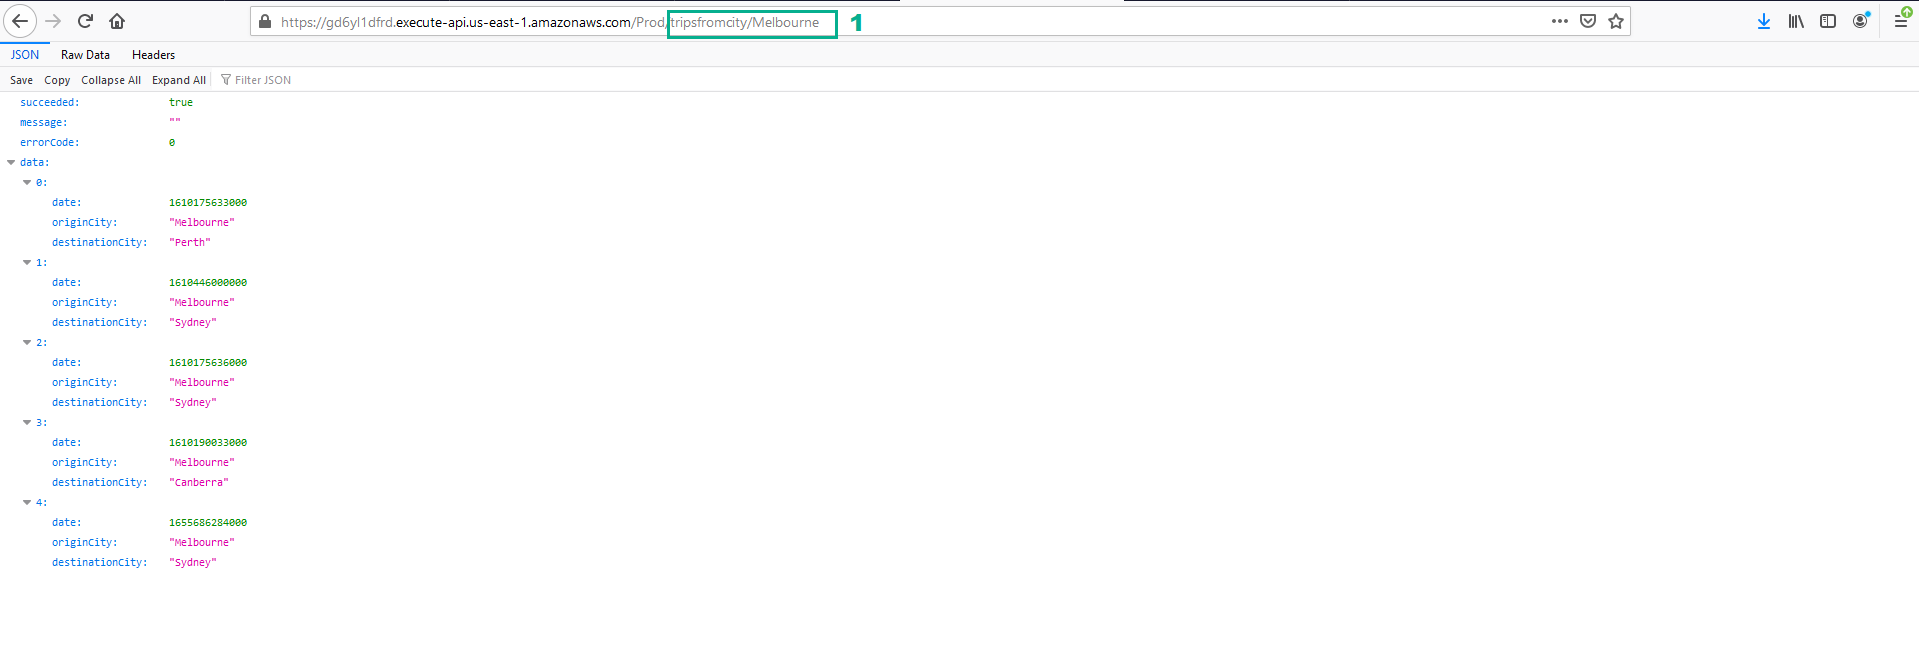
- The microservice also allows you to query for trips that originate from a particular city. For example, if you added Melbourne as an originCity to your DynamoDB table, you could query for flights that originate from Melbourne by hitting the path tripsfromcity/Melbourne.